
How to Brew Strong Coffee for Bold Flavor at Home
If you want a genuinely strong cup of coffee, you need to think beyond just buying the darkest beans on the shelf. The real secret is in the extraction, and that starts with a simple tweak: using more coffee grounds relative to your water. Forget the burnt, bitter flavors of over-roasted beans and focus on your technique.
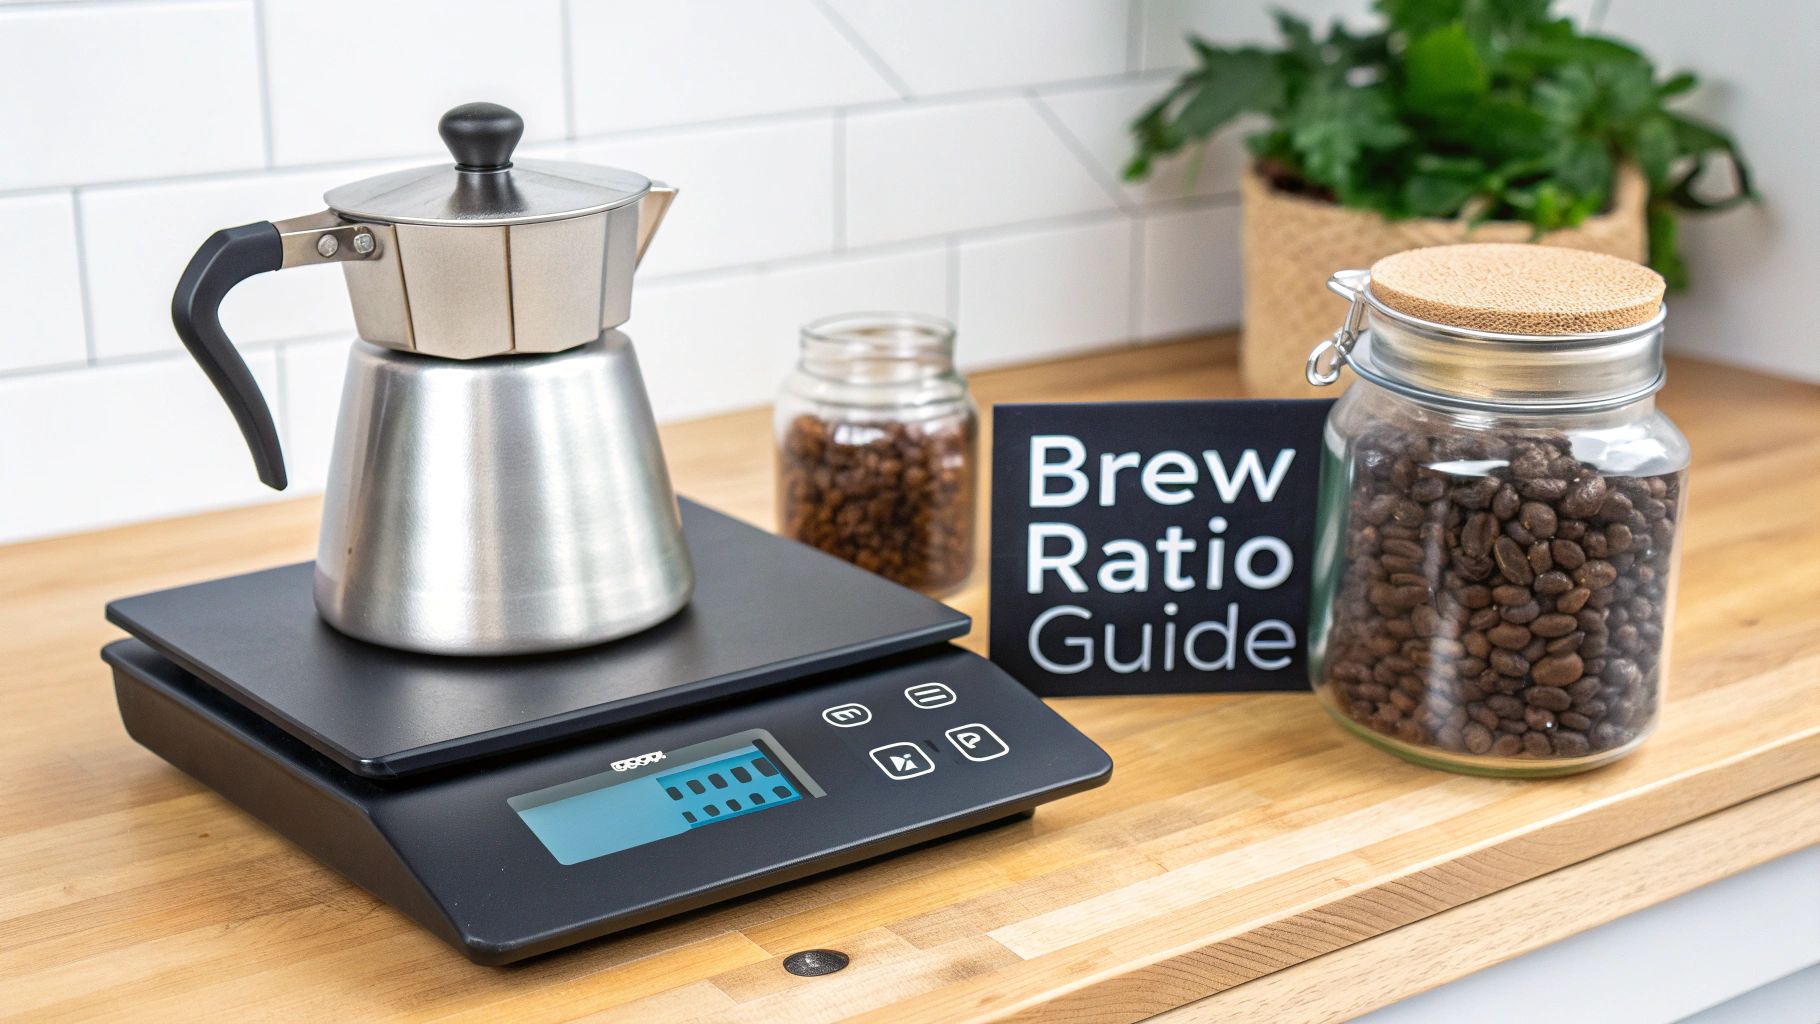
A great starting point is a 1:15 ratio—that’s 1 gram of coffee for every 15 grams of water. This simple adjustment is the foundation for a bolder, more flavorful brew every single time.
The Foundation of Truly Strong Coffee
Too many people chase that strong coffee experience by grabbing the oiliest, darkest roast they can find, only to wind up with a cup that tastes like ash. While the bean you choose definitely matters, the real control comes from mastering the core variables of brewing. The most powerful tool you have is the coffee-to-water ratio.
In the specialty coffee world, you’ll often hear about a "Golden Ratio" of 1:18, but for a truly robust cup, we need to tighten that up. Shifting to a 1:15 or even a punchy 1:14 ratio is where the magic happens. This increases the concentration of dissolved coffee solids in your final cup, creating a richer body and more intense flavor profile without just adding bitterness.
Key Variables for a Bolder Brew
This isn't just theory; it's a practice that's catching on. Over the last decade, coffee drinkers have been steadily making their daily brews stronger. For outdoor enthusiasts brewing at a campsite, this means using ratios like 1:14 or 1:15, which translates to about 28–30 grams of coffee for a standard mug. That’s a big jump from the 22–24 grams older automatic machines were designed for.
This infographic breaks down the three pillars you can control to get that stronger cup: the ratio, grind size, and extraction time.
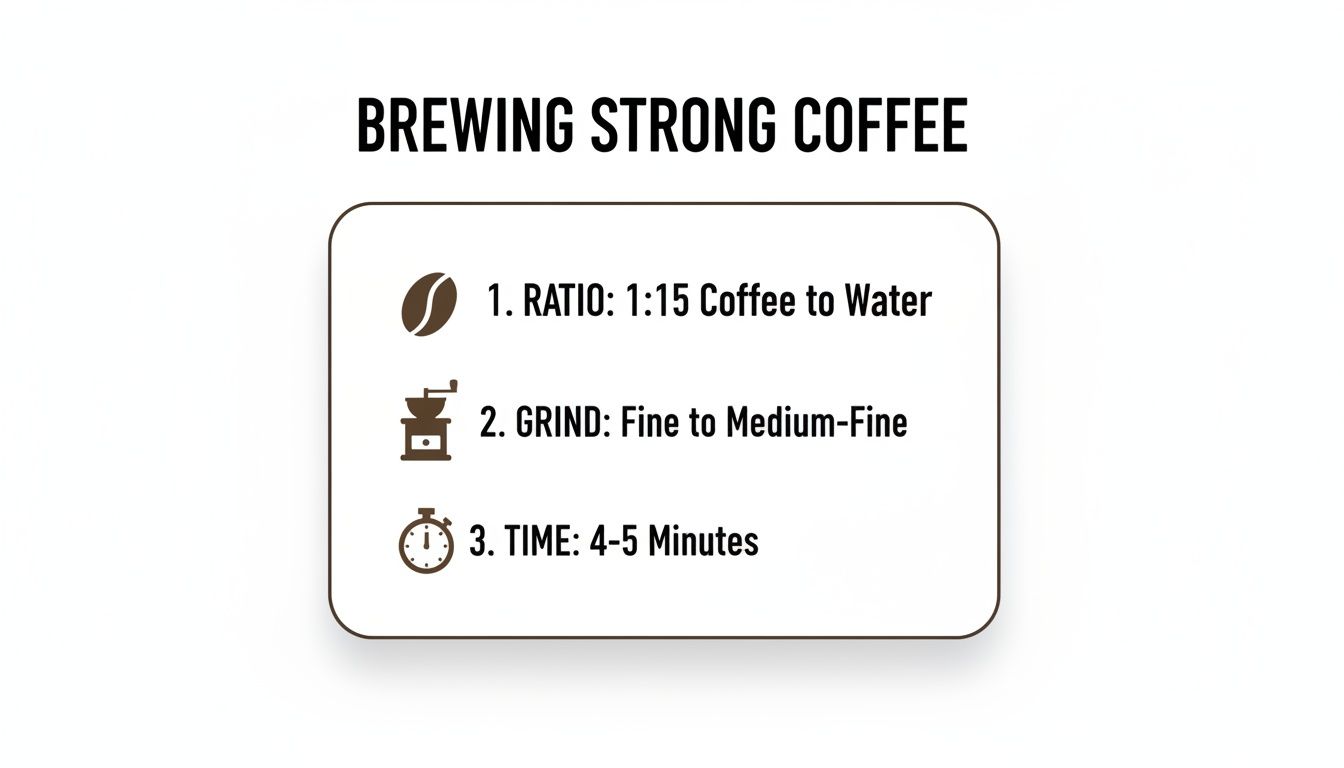
As the image shows, your brew ratio, how fine you grind your beans, and how long the coffee and water are in contact all work together to determine the final strength in your cup.
To help you get started, here’s a quick reference table for dialing in your brew.
Quick Guide to Strong Coffee Variables
| Variable | Recommended Range for Strong Coffee | Why It Matters |
|---|---|---|
| Coffee-to-Water Ratio | 1:12 to 1:15 (e.g., 25-30g coffee for a 12 oz mug) | This is the most direct way to control concentration. A lower water-to-coffee ratio means a stronger, more intense brew. |
| Grind Size | Medium-Fine to Fine | A finer grind increases the coffee's surface area, allowing water to extract more flavor compounds more quickly. This is crucial for achieving strength without a long brew time. |
| Water Temperature | 195-205°F (90-96°C) | Hotter water extracts flavor more efficiently. Staying in this range helps pull out the good stuff (oils, sugars) without scorching the grounds and creating bitterness. |
| Brew Time (Contact Time) | Varies by method (e.g., 4 mins for French press) | The longer water is in contact with the coffee, the more it extracts. This needs to be balanced with your grind size to avoid over-extraction (bitterness). |
Think of these variables as your control panel for crafting the perfect strong brew.
Finding Your Perfect Ratio
Starting with a strong ratio is step one, but the type of bean you use will dramatically shape the final taste. A medium roast from Guatemala might give you chocolatey boldness at a 1:15 ratio, while a light roast Ethiopian could deliver a powerful, fruity intensity.
The best strong coffee is one that balances intensity with clarity of flavor. The goal is to extract more of the good stuff—oils, acids, and sugars—without pulling out the bitter compounds that come from over-extraction.
To nail this, you have to pair your chosen ratio with the right grind size. A finer grind increases the surface area of the coffee, letting water pull out flavor more quickly and efficiently. This is your blueprint for every cup. You can learn more about how to choose coffee beans that fit the flavor profile you’re after.
Mastering this balance between ratio and grind is the key to unlocking consistently bold coffee, whether you're at your kitchen counter or brewing by a campfire.
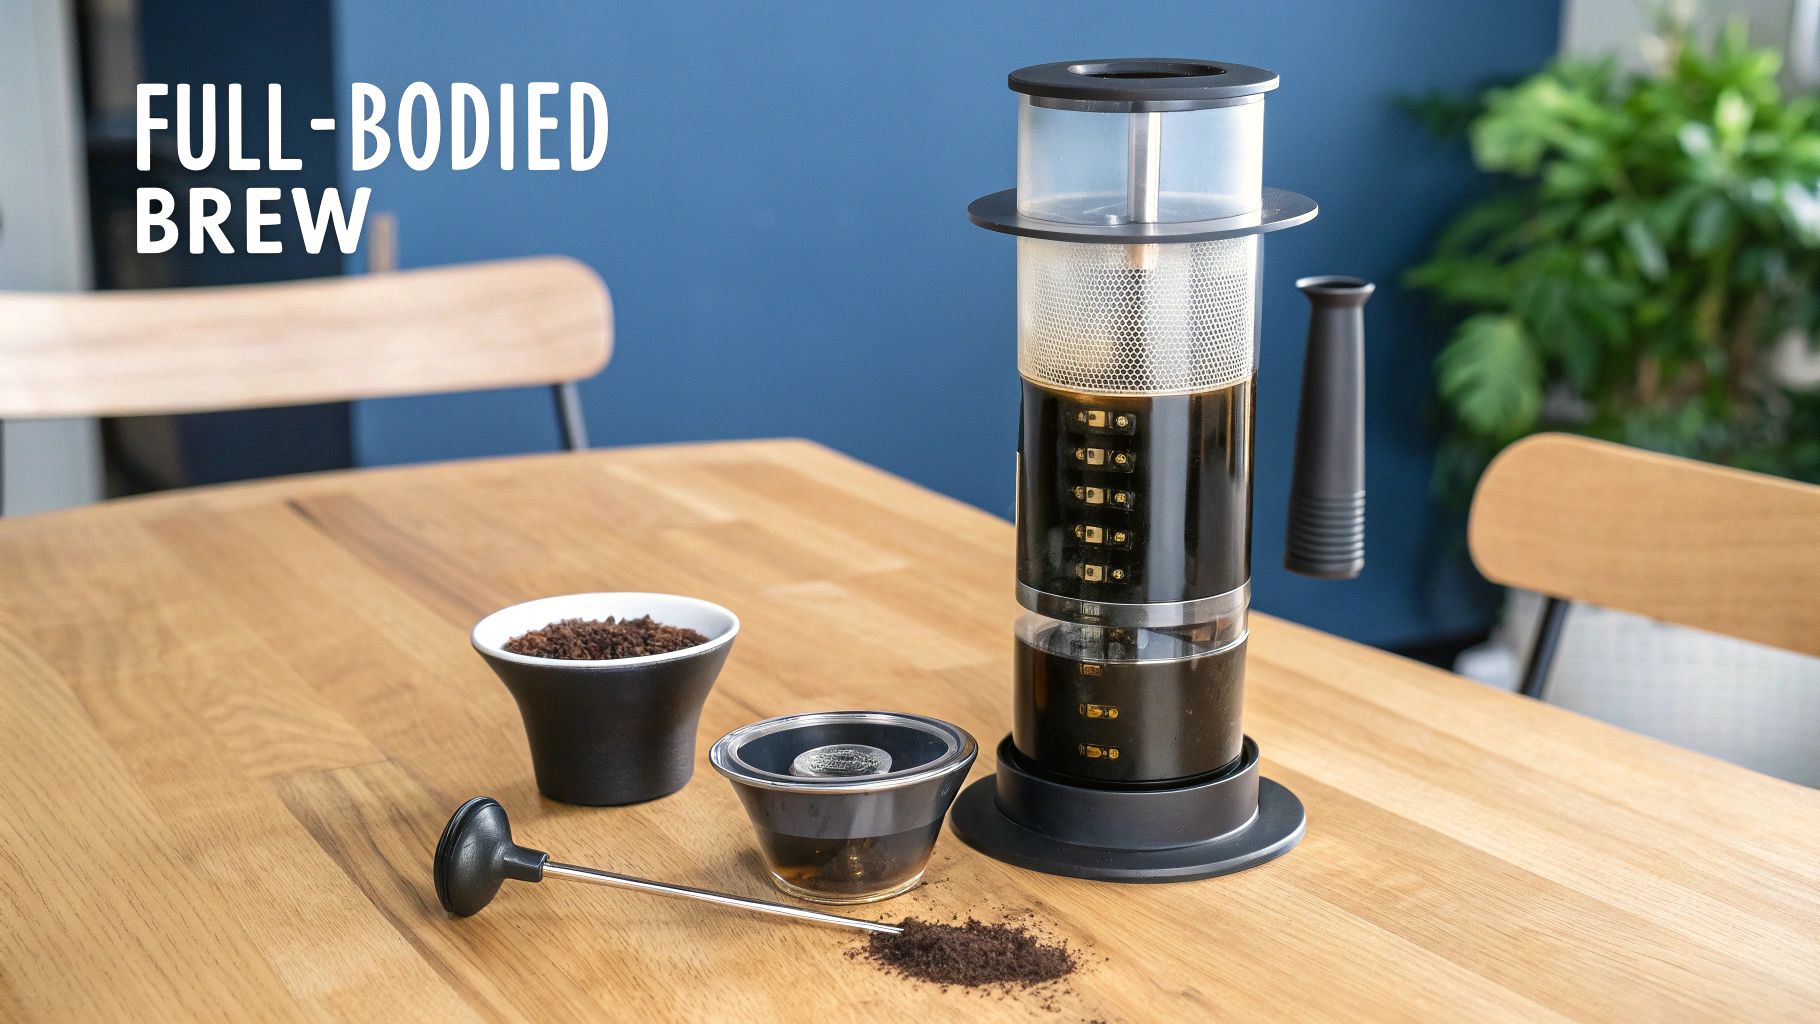
Mastering Full-Bodied Immersion Brews
When you’re chasing a cup of coffee that’s rich, heavy, and packed with flavor, immersion brewing is where you want to be. Unlike a pour-over where water just passes through the grounds, immersion lets the coffee and water hang out together for the entire brew. This full-contact approach pulls out a ton of oils and solids, giving you a cup with a velvety body and serious depth.
The two titans in the immersion world are the classic French press and the super-versatile AeroPress. Both are brilliant for making a strong brew, but they get there in completely different ways. If you love a rustic, full-bodied cup with a bit of satisfying grit, the French press is an icon for a reason.
The Classic French Press Method
To really nail a strong French press, you need to start with a coarse grind—think chunky sea salt. Go any finer, and you’ll either end up with a muddy cup full of sediment or find it nearly impossible to push the plunger down. This coarse grind is perfect for the longer 4-minute steep time that defines this method.
For a really potent brew, aim for a strong ratio like 1:14 or 1:15. In a standard 34 oz (1 liter) press, that works out to about 60-65 grams of coffee.
Here’s how to do it right:
- Bloom the Grounds: Once your coffee is in the carafe, pour in just enough hot water to saturate it—about twice the weight of the coffee. Let it sit for 30 seconds. You’ll see the coffee bubble up as it releases trapped CO2, which is key for an even extraction later.
- Pour and Steep: After the bloom, add the rest of your water and give it a gentle stir to make sure everything is submerged. Pop the lid on (don't plunge yet!) and let it steep for a full four minutes.
- The Final Press: When the time’s up, press the plunger down slowly and steadily. If you rush it, you’ll stir up the fine particles and end up with a bitter finish. Pour it all out immediately to stop it from over-extracting.
This technique is incredibly straightforward but delivers big results. If you want to dive even deeper, our complete guide on how to make French press coffee breaks down all the nuances.
A French press brew is unapologetically bold. Its metal filter lets all the flavorful oils and microscopic coffee particles right into your cup, creating that signature heavy body and rich texture that paper filters trap.
This method is a dream with medium-to-dark roasts. A classic Brazil Cerrado or a rich Guatemalan bean will give you a cup that’s smooth, chocolatey, and deeply satisfying.
The Versatile AeroPress Technique
While the French press is all about a slow, leisurely brew, the AeroPress is its fast, adaptable, and pressure-driven cousin. It gives you a cleaner cup than a French press but can brew a concentrate that’s almost as intense as espresso. This makes it a fantastic tool for brewing strong coffee, especially when you're not at home.
For an AeroPress, you’ll want a medium-fine grind, something similar to table salt. This finer grind, combined with the pressure from plunging, makes for a much quicker extraction—usually around 1-2 minutes.
You’ve got two main ways to go about it:
- Standard Method: The AeroPress sits right on your mug. Add coffee and water, give it a stir, and plunge. It’s fast, simple, and reliable.
- Inverted Method: This is my personal favorite for maximum control and strength. You start with the AeroPress upside down, which lets you do a full immersion steep without any coffee dripping out too early.
Using the inverted method, you can let the coffee steep for a full 90 seconds before flipping it over and plunging. That extra contact time, paired with a strong 1:12 or 1:13 ratio, creates a powerful coffee concentrate. From there, you can add hot water for an Americano-style drink or mix it with milk.
Its durability and compact size have made the AeroPress a huge favorite among campers and travelers. It’s a perfect fit for the Lost Without Coffee Co. ethos—helping you make great, strong coffee no matter where you are. Because it creates a potent but clean brew, it works well with a huge range of roasts, from bright, fruity Ethiopians to rich, dark blends.
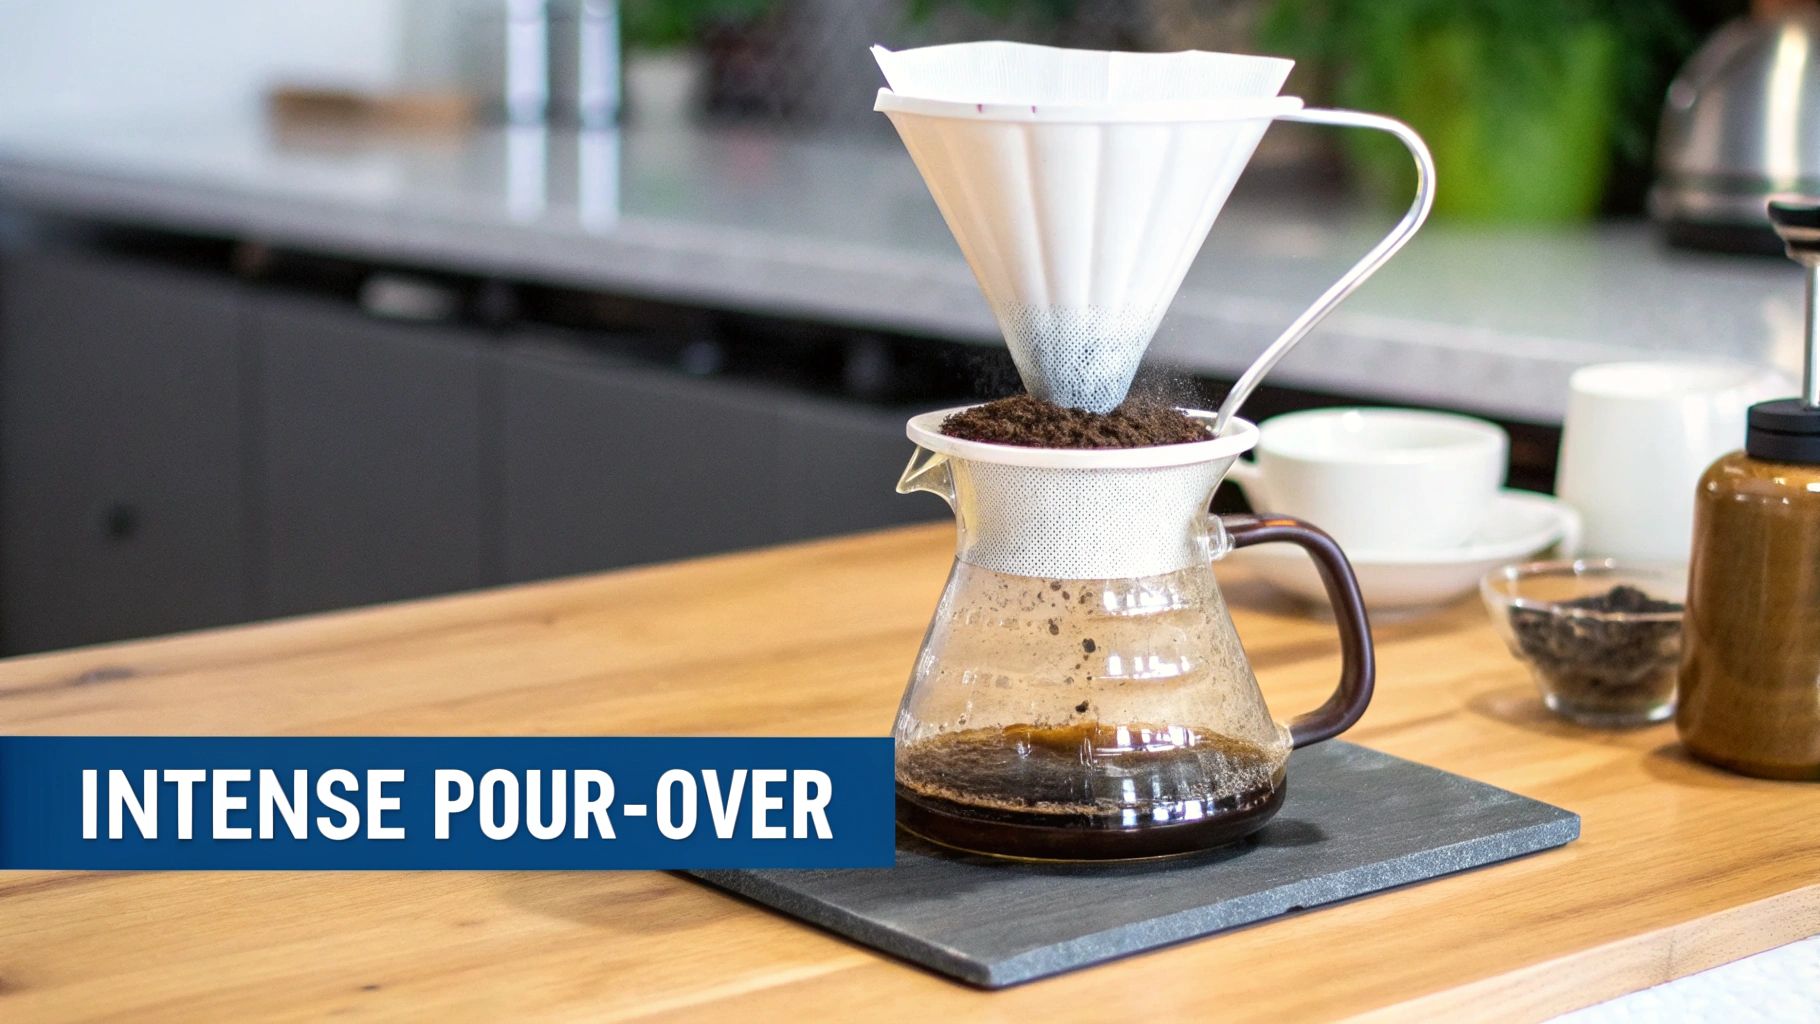
Perfecting a High-Intensity Pour-Over
Most people think of pour-over coffee as delicate and tea-like—something light and nuanced, not bold and powerful. And while it's true that pour-overs are fantastic at highlighting subtle flavors, they can absolutely produce a strong, complex cup when you want them to.
The secret isn’t about just dumping in more coffee; it’s about adjusting your technique to pull out maximum flavor without veering into bitterness. By tweaking your ratio and refining your pour, you can coax a high-intensity brew from any dripper, whether it’s a V60, Kalita Wave, or a classic Chemex. You get the clean, crisp body of a filtered coffee with that strong kick you’re after.
Dialing in the Core Variables
To turn a delicate pour-over into a powerhouse, we need to focus on the same core principles: ratio, grind, temperature, and technique. The difference here is that pour-over is a much more hands-on process than immersion methods. Every single pour directly impacts what ends up in your cup.
A great starting point for a stronger brew is a 1:15 ratio. If you're making a standard 12-ounce mug (that’s about 340 grams of water), you’ll want to use roughly 23 grams of coffee. This is a solid step up from the more common 1:16 or 1:17 ratios that are often used for a standard daily brew.
Next up is your grind size. Go for a medium-fine consistency, something like table salt. This finer grind creates more surface area, letting the water extract more flavor compounds during the brew’s relatively short contact time.
Finally, water temperature is huge. Use water that’s just off the boil, ideally between 195-205°F (90-96°C). This range is hot enough to pull out the good stuff but not so hot that it scorches the grounds and makes your coffee taste harsh.
Mastering the Pouring Technique
The real art of a strong pour-over is all in the wrist. A slow, controlled pour is your best friend for getting an even extraction and making the most of your coffee. It all starts with the most critical phase of any pour-over: the bloom.
The bloom is that first small pour where you just saturate the grounds. The goal is to use about twice the weight of the coffee in water. So, for our 23-gram dose, that means gently pouring about 45-50 grams of water in a spiral. Now, wait 30-45 seconds. You’ll see the coffee bed puff up and bubble as it releases trapped CO2.
This initial bloom is non-negotiable for a strong brew. It ensures all the coffee grounds get evenly wet, preventing dry pockets and setting the stage for a uniform extraction. Skip it, and you’ll often get a cup that tastes both sour and weak.
After the bloom has settled, it's time to continue your pour. Here’s a solid technique to follow:
- Keep it low and slow. Hold the spout of your gooseneck kettle close to the coffee bed and pour in slow, steady circles.
- Pour in pulses. Instead of dumping all the water in at once, add it in stages. I like to pour about 100 grams at a time, letting the water level drop a bit before adding the next pulse.
- Stay away from the edges. Try to focus your pour on the center of the coffee bed, spiraling outwards but stopping before you hit the paper filter. This makes the water travel through the coffee, not around it.
Your total brew time, from the moment water first hits the grounds to the final drip, should be somewhere between 3 and 4 minutes. If it’s way faster, your grind is probably too coarse, leading to a weak cup. If it’s dragging on too long, your grind is likely too fine, which can create a bitter, over-extracted mess.
It’s a balancing act, for sure. But with these adjustments, you can brew a pour-over that’s both intensely flavorful and exceptionally clean—perfect for bringing out the bright, punchy notes in a single-origin bean while still delivering the strength you crave.
Harnessing Pressure for Concentrated Flavor
When you're chasing a truly intense, syrupy cup of coffee, pressure is your best friend. Methods like the Moka pot and espresso machine use force to push water through finely ground coffee, creating a dense and powerful brew that drip and immersion methods simply can't touch.
This isn't just about speed. The pressure fundamentally alters the extraction, unlocking a rich layer of crema and producing a coffee concentrate that forms the backbone of favorites like lattes and cappuccinos.
The Stovetop Espresso of the Moka Pot
The Moka pot, often called a stovetop espresso maker, is a classic for a reason. It uses steam pressure to force hot water from a bottom chamber, up through a puck of coffee grounds, and into the top chamber. The result? A bold, rich brew far more concentrated than your average drip coffee.
To get a strong but clean cup, you have to nail two things: water temperature and grind size. You'll need a fine grind—just a little coarser than you'd use for a true espresso machine. This creates the resistance needed for pressure to build properly.
Always start with pre-heated water in the bottom chamber. If you start with cold water, the entire pot sits on the stove far too long. This can actually cook the grounds before the brewing even finishes, leaving you with a nasty metallic taste.
Pro Tip: Listen for the hiss. When your Moka pot starts making a gurgling, hissing sound, it's done. Pull it off the heat immediately and run the base under cool water to stop the extraction cold. This one little trick is the key to avoiding a bitter, over-extracted brew.
This method works wonders with dark roasts that carry classic chocolate and nutty notes. The intense brewing process pulls those deep flavors right out, giving you a powerful and deeply satisfying cup. If you're looking to get started, a solid high-pressure Moka pot is the perfect tool for the job.
The Fundamentals of Home Espresso
Pulling a great shot of espresso is the pinnacle of brewing strong coffee. A true espresso machine generates around 9 bars of pressure, which is what creates that signature syrupy body and stable, rich crema.
Getting a balanced, strong shot is a delicate dance between your dose, grind, and tamp.
- Dose: This is simply how much coffee you use. For a standard double shot, you're looking at 17–18.5 grams of coffee.
- Grind: The grind has to be very fine. This creates the resistance the machine needs to build pressure and extract correctly.
- Tamp: Once you've dosed your portafilter, you need to tamp the grounds evenly with about 30 pounds of pressure. This creates a level "puck" that ensures water flows through uniformly.
When you hit the brew button, you're aiming to get about 45–55 ml of liquid espresso in your cup in about 25–30 seconds. That's the sweet spot.
Troubleshooting Your Espresso Shot
Dialing in the perfect shot is all about making small, deliberate adjustments. If your shot gushes out too fast (under 20 seconds) and tastes sour, your grind is too coarse. If it barely drips out and takes too long (over 35 seconds), tasting bitter and burnt, your grind is too fine.
Here’s a real-world example: You pull a shot and get 50ml in just 18 seconds. It tastes weak, thin, and acidic. The fix is simple: keep your dose the same, but adjust your grinder one or two clicks finer. This tiny change adds more resistance, slows the water down, and gives you a much stronger, more balanced extraction.
Mastering these pressure-based methods takes a bit of practice, but the reward is a uniquely concentrated and flavorful coffee that you just can't get any other way.
Your Guide to Strong Coffee on the Go
Great coffee shouldn't be a luxury you leave behind when you head out the door. For the campers, hikers, and adventurers who refuse to settle for a mediocre cup, knowing how to brew strong coffee in the wild is a total game-changer. It’s all about adapting your technique to the outdoors with gear that’s as tough and lightweight as the rest of your kit.
You can absolutely pull off a fantastic, robust brew with just a few smart adjustments. This means getting friendly with tools like the AeroPress or a portable pour-over dripper and learning how to get killer results without the creature comforts of a digital scale and electric kettle.
Adapting Your Brew for the Outdoors
The biggest challenge when you’re brewing outside? Consistency. You’re not going to have your usual setup, but with a bit of practical know-how, you can get surprisingly close to that perfect cup.
Take measuring beans, for instance. It's way easier than you think without a scale. A standard coffee scoop holds roughly 10 grams of whole beans, which is a solid starting point. Need 30 grams for a proper strong brew? That’s just three level scoops. Simple.
A quality hand grinder is your best friend on the trail. It gives you the control over grind size that is so critical for a good extraction. If you're using a portable pour-over, a medium-fine grind will deliver that bold flavor you're after without taking forever to brew.
Portable Brewing Powerhouses
Not all brewers are cut out for the backcountry. You need something tough, light, and easy to clean.
- The AeroPress: This thing is arguably the ultimate outdoor coffee maker. It's nearly indestructible, weighs next to nothing, and is incredibly versatile. You can make a strong, espresso-like shot to dilute or a full-immersion cup in less than two minutes.
- Portable Pour-Over Drippers: Collapsible silicone or stainless steel drippers are fantastic. They pack down small and let you make a clean, intense pour-over just like you would at home. Pair one with a durable enamel mug for the perfect campsite setup.
Getting your water temperature right over a camp stove just requires a little finesse. Bring your water to a full, rolling boil, then pull it off the heat. Let it sit for about 30-45 seconds, and that will bring the temperature down into that ideal 195-205°F sweet spot, so you don't scorch your grounds.
Don’t underestimate how much wind and cold can mess with your brew. A metal brewer loses heat way faster than a plastic one. On chilly mornings, pre-heating your brewer and mug with a splash of hot water makes a huge difference in keeping your extraction temperature stable.
The Rise of High-Quality Instant Coffee
Let's be real: sometimes, convenience is king. If you're packing ultra-light or just need a no-fuss caffeine fix right now, modern instant coffee is a world away from the dusty jars of the past. Specialty brands, including our own here at Lost Without Coffee Co., are producing instant options that pack a surprisingly rich and robust flavor.
This isn't your grandma's coffee-flavored dust. It’s made by brewing incredible coffee and then freeze-drying it to lock in all the complex flavors and aromas. All you need is hot water and something to drink out of.
It’s the perfect solution for those moments when you demand a strong, satisfying cup with minimal gear and zero cleanup. Whether you’re on a multi-day trek or just need a quick boost before hitting the trail, a good instant coffee ensures you’re never left without a great brew.
Common Questions About Brewing Strong Coffee
Even with the best gear and beans, brewing strong coffee can sometimes feel like a moving target. Questions always pop up, myths persist, and it’s way too easy to get stuck in a rut.
Let's clear the air and tackle some of the most common questions head-on. My goal is to help you brew with more confidence and finally nail that consistently bold cup you’re after.
Does Darker Roast Mean Stronger Coffee
This is probably the number one myth in the world of coffee. A dark roast definitely delivers that bold, roasty, and often smoky flavor many people associate with "strength," but it doesn't automatically mean a stronger or more caffeinated cup.
True strength comes from concentration—the amount of dissolved coffee solids in your water. That's all about your brew ratio and how well you extract the coffee.
In fact, lighter roasts often have slightly more caffeine by weight. The perception that dark means strong is just a misunderstanding. Lab tests usually show only marginal caffeine differences between light and dark roasts—often under 10% when measured by weight. You can dive deeper into global coffee consumption trends on coffeebi.com.
The takeaway? Choose your roast based on the flavors you love, not just the color. A perfectly brewed light roast with a tight 1:15 ratio can be incredibly powerful and complex.
How Can I Make My Coffee Stronger Without Making It Bitter
Ah, bitterness—the classic sign of over-extraction. This happens when hot water hangs around too long and starts pulling out all the undesirable, harsh compounds from the grounds. It's a common trap for people who try to make their coffee stronger by just grinding finer or brewing longer.
To ramp up the strength without the bitterness, think in this order:
- Increase Your Coffee Dose First: This is the safest and most direct route. Instead of a standard 1:17 or 1:18 ratio, tighten it up to 1:15. You're simply using more coffee for the same amount of water, which directly boosts the concentration.
- Tweak Your Grind Size (Slightly): If a stronger ratio still isn’t quite there, then try making your grind a little finer. This increases the surface area for more efficient extraction. Go slow here—tiny changes make a huge difference.
By focusing on the dose first and using grind size as a secondary adjustment, you can build intensity while keeping those bitter notes out of your cup.
The goal is always a balanced extraction. You want to pull out all the sweet, delicious compounds without crossing into the harsh, bitter ones that show up late to the party. More coffee grounds give the water more good stuff to work with, making that balance much easier to hit.
Can I Just Use Less Water in My Auto-Drip Machine
It seems like a logical shortcut, but this trick almost always backfires. Your automatic drip machine is designed around a specific brew cycle. Its internal timer is calibrated to run for a certain amount of time, assuming you're making a full pot.
When you use less water, the brew cycle still runs for about the same duration. The problem is, that smaller amount of water rushes through the coffee grounds way too quickly.
This leads to under-extraction—a brew that’s sour, weak, and hollow. The exact opposite of what you wanted.
A much better approach is to increase the amount of coffee grounds for a full pot of water. Start by adding an extra 10-20% more coffee to the filter. If you normally use 12 scoops for a 12-cup pot, try 14 instead. You'll get a much richer, more concentrated brew without fighting your machine's programming.
Is Espresso the Strongest Type of Coffee
This really depends on how you define "strongest."
If you’re talking about concentration, then absolutely. Espresso is the undisputed champion. It has the highest Total Dissolved Solids (TDS), meaning it’s the most intense, concentrated sip of coffee you can get. A single shot is thick, syrupy, and packs a huge flavor punch.
But if you’re talking about total caffeine, the story changes. A standard one-ounce shot of espresso usually has between 60-75 mg of caffeine.
Compare that to a big 12-ounce mug of drip coffee brewed at a strong 1:15 ratio. That cup can easily contain 150-200 mg of caffeine, sometimes more.
So, while a single shot of espresso is more concentrated, a big cup of well-brewed filter coffee often delivers a much larger overall caffeine kick. It all comes down to the total volume you're drinking.
At Lost Without Coffee Co., we believe a great cup of coffee should be accessible anywhere, from your kitchen to your campsite. Explore our selection of ethically sourced, freshly roasted beans and find the perfect profile to craft your ideal strong brew. Check out our coffee collection.