
Master the Roast: roast coffee beans at home with this guide
Diving into home coffee roasting is the single biggest step you can take to control the flavor and freshness of your coffee. It's a hands-on craft, a simple process of applying heat to green coffee beans to unlock the incredible aromas and tastes hidden inside. It transforms a daily ritual into something deeply personal and rewarding.
Why You Should Roast Your Own Coffee Beans
Imagine brewing a cup from beans that were still crackling in the roaster just a day or two ago. That's the world home roasting opens up. When you buy pre-roasted coffee—even from a fantastic local shop—it's already on the clock, slowly losing its peak flavor. Roasting your own beans puts you in the driver's seat, guaranteeing every cup is as fresh as it gets.
But this isn't just about freshness. It's about becoming the architect of your coffee's flavor.
- Tailor Roast Profiles: Love bright, fruity notes? You can pull the beans right after the first crack for a light roast. Crave deep, chocolatey richness? Push the roast a little further. You decide.
- Explore Bean Origins: This is your passport to the world of coffee. Experiment with green beans and discover the citrusy pop of an Ethiopian Guji or the balanced, nutty sweetness of a Guatemalan Antigua.
- Achieve Peak Flavor: Roasting in small batches means you’ll always be drinking your coffee during its optimal flavor window—typically from 24 hours to 10 days after roasting.
Unlocking a New Level of Appreciation
When you roast your own beans, you connect with coffee on a totally different level. You learn to listen for the "first crack," that distinct popping sound that signals the beans are entering a light roast. You'll smell the transformation as the aroma shifts from grassy and vegetal to sweet and caramelized. It's an incredible sensory experience.
Home coffee roasting demystifies the whole process. It turns you from a passive consumer into an active creator. It’s less about complicated science and more about engaging your senses to craft something uniquely yours.
This hands-on approach is part of a bigger shift. The specialty coffee market has become the fastest-growing part of the industry, seeing an 80% growth in the U.S. since 2011. This trend is especially strong among younger drinkers, with 64% of Americans aged 25–39 enjoying specialty coffee recently. You can dig into more about this global coffee consumption trend and see how it’s reshaping the market.
And here’s the kicker: learning to roast is surprisingly cost-effective. Green, unroasted beans are significantly cheaper than their roasted counterparts and stay fresh for months. Over time, the savings really add up, making this a hobby that pays for itself in both exceptional coffee and cash.
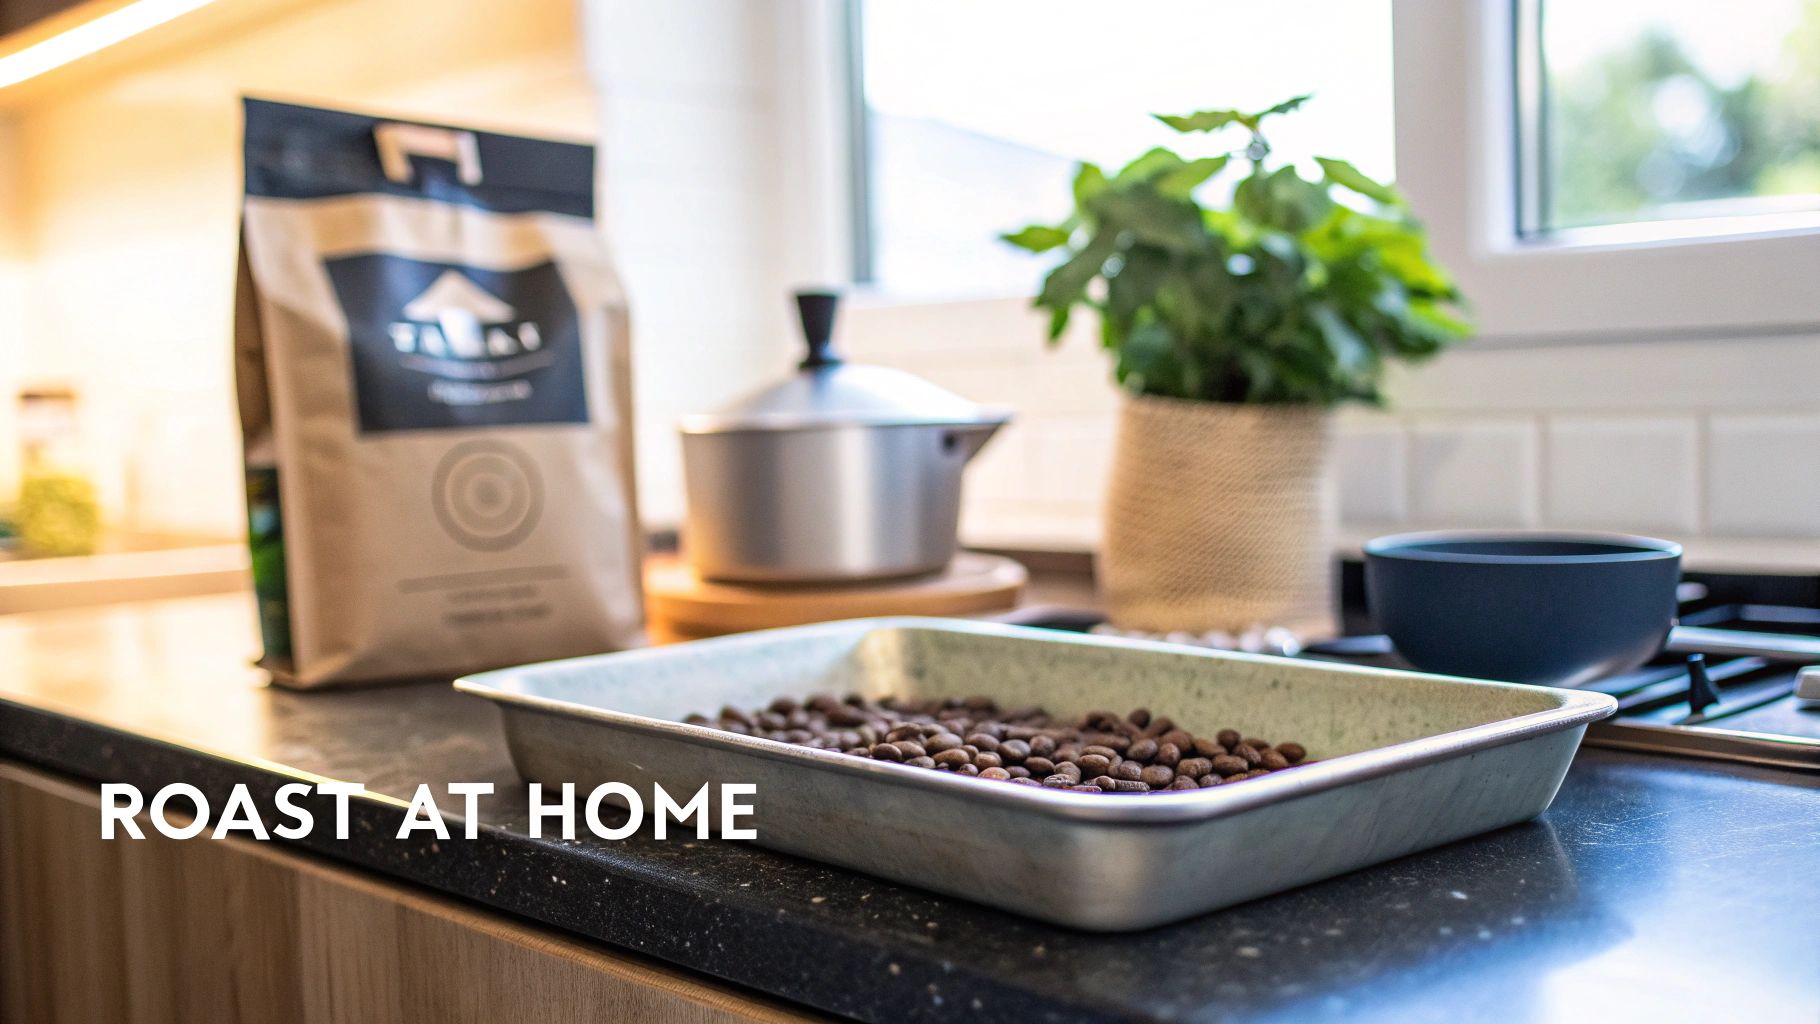
Getting Your Roasting Essentials
Before you can even think about roasting, you need two things: the right beans and the right tools. Your journey starts with sourcing high-quality green coffee. Honestly, this is the single most important factor—it sets the entire flavor potential for your final cup. You can't make a world-class meal with subpar ingredients, and the same rule applies here.
The origin of the bean plays a massive role in its built-in flavor profile. An Ethiopian bean, for example, might surprise you with bright, floral, and citrusy notes. A Guatemalan bean, on the other hand, often delivers a more balanced cup with rich chocolate and nutty undertones. And you can’t go wrong with Brazilian beans, known for their sweet, low-acidity character and hints of caramel.
Fortunately, it’s easier than ever to get your hands on incredible green coffee. Global production is forecast to hit 178.8 million 60-kilogram bags in 2025–26, an all-time high. This surge, detailed in USDA coffee market insights, means more variety and better accessibility for home roasters like us.
If you’re just starting and want to dive deeper into how origins and processing methods shape flavor, we’ve put together a full guide on how to choose coffee beans.
Choosing Your Roasting Method
Once you have your beans, you need a way to heat them. Don't worry, you don’t have to invest a fortune to get started. Many effective methods use common household items. The key is finding what works for your budget, how much coffee you want to roast at once, and the level of control you’re comfortable with.
Here are a few of the most popular ways to get started:
- Dedicated Home Roaster: These machines are built specifically for roasting coffee. They give you the most control over temperature and airflow, which means consistent results time after time. They range from simple air roasters to more advanced drum roasters, but they do come with a higher price tag.
- Air Popcorn Popper: This is a surprisingly effective and super affordable entry point. The constant flow of hot air keeps the beans moving, ensuring a fairly even roast. Pro tip: look for older models with a side-venting chamber, as the newer bottom-venting ones don’t agitate the beans as well.
- Stovetop Pan or Wok: The most old-school method. It requires constant stirring to keep the beans from scorching, but it’s a very hands-on approach that really connects you to the sensory cues of roasting. Just be warned, getting an even roast can be a serious challenge.
- Oven Roasting: Roasting on a perforated baking sheet lets you handle larger batches, but it often produces a less even roast. Since there's no built-in agitation, you have to remember to manually stir the beans every few minutes to keep things consistent.
No matter which method you pick, the goal is always the same: apply heat evenly until the beans reach your perfect roast level. My advice? Start simple, get a feel for the process, and you can always upgrade your gear later.
To make the choice a little easier, here's a quick rundown of what to expect from each method.
Home Roasting Method Comparison
| Method | Approx. Cost | Batch Size | Learning Curve | Best For |
|---|---|---|---|---|
| Home Roaster | $150 - $800+ | Small to Med | Medium | Consistency and control |
| Popcorn Popper | $20 - $40 | Small | Low | Beginners and small batches |
| Stovetop Pan | $15 - $50 | Small to Med | High | The hands-on purist |
| Oven | $10 - $30 | Large | Medium | Roasting larger quantities |
As you can see, there’s an entry point for every budget and commitment level. Don't let the gear intimidate you—the most important thing is just to get started.
Essential Accessories for a Successful Roast
Beyond the beans and a heat source, a few simple tools will make your life a whole lot easier and your roasts much more consistent. These are pretty much non-negotiable if you want predictable, delicious results.
First and foremost, ventilation is critical. Roasting coffee produces a lot of smoke and a very distinct smell, especially as you get into darker roasts. Always roast near an open window with a fan, under a powerful range hood, or—my personal favorite—outdoors. This isn’t just for comfort; it’s a safety essential.
You'll also need a reliable timer and a way to cool the beans rapidly once they're done. The classic method is to toss them between two metal colanders, which works like a charm. Having these things ready before you start means you can focus on the roast without scrambling for tools when things get hectic.
The Roasting Process: From Green to Brown
This is where the magic happens. Roasting coffee is a sensory experience—a dynamic dance of heat, time, and attention. It’s less about following a rigid recipe and more about guiding the beans through a transformation you can see, smell, and hear.
Whether you're using a pan, an oven, or a popcorn popper, the core principles are the same: apply consistent heat and keep those beans moving. An even roast is a happy roast. Let's walk through the key stages you’ll witness as you turn raw, green beans into something truly special.
This visual guide breaks down the core components you'll be working with.
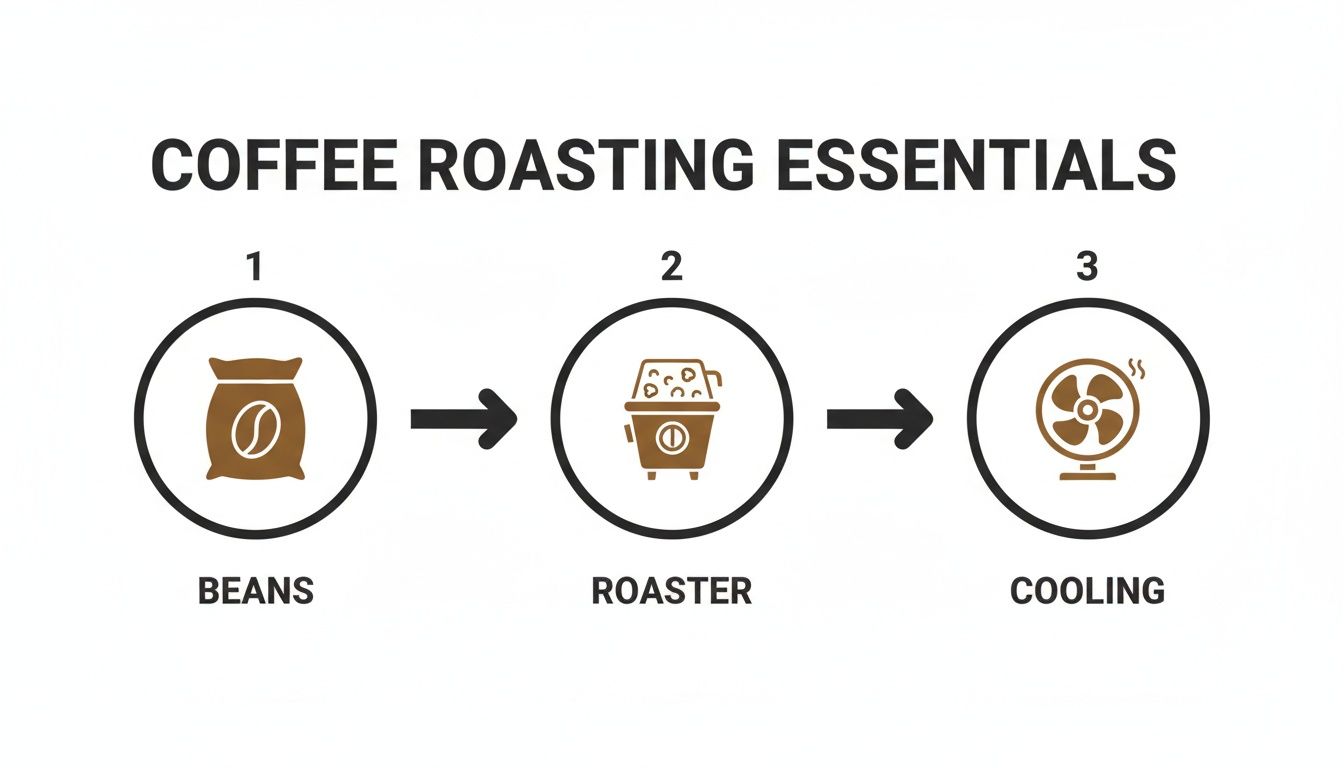
It’s a simple progression: raw beans meet a heat source, then they’re rapidly cooled to lock in all that incredible flavor.
The Initial Drying Phase
As you start applying heat, the first thing you'll notice is the beans turning from green to a pale, washed-out yellow. This is the drying phase, and it usually takes up the first few minutes of the roast.
During this stage, the beans are shedding internal moisture, and the air will fill with a grassy, almost vegetal smell, kind of like toast or hay. Your only job here is to maintain steady heat and keep things moving. If you're on a stovetop, that means continuous stirring. In a popcorn popper, the machine’s airflow handles the agitation for you.
Pro Tip: Don’t rush the drying phase. Blasting the beans with heat right out of the gate can scorch the outside while leaving the inside raw and underdeveloped. A slow, steady start builds the momentum you need for the critical stages ahead.
The Maillard Reaction and First Crack
Once the drying is done, the real fun begins. The beans will start browning, shifting from yellow to a light cinnamon color. You’re now witnessing the Maillard reaction—the same chemical process that gives a steak its sear and bread its crust. Sugars and amino acids are breaking down and creating hundreds of new aromatic compounds.
The grassy smell will fade, replaced by a much sweeter, more roasted aroma. This is your cue that the most important milestone is just around the corner: the first crack.
As steam and carbon dioxide build up pressure inside, the beans will start to audibly pop. It sounds a lot like popcorn, just a bit quieter. The moment you hear it, your beans have officially reached a light roast.
- When It Happens: Usually between 7 to 9 minutes into the roast, depending on your setup.
- What You See: Beans will have expanded and turned a nice, light brown.
- What You Hear: A distinct, audible cracking sound.
Once the first crack kicks off, the roast accelerates fast. This is where you need to be paying full attention, because the next 30-90 seconds will define the final flavor.
Navigating Roast Development Time
The time between the start of first crack and when you decide to stop the roast is called the development time. This is your moment to play chef. Your decisions here will directly shape the coffee's acidity, body, and sweetness.
Want a bright, acidic cup? End the roast shortly after the first crack starts. A shorter development time preserves the bean's delicate origin characteristics. This is the perfect approach for a high-quality Ethiopian bean from Lost Without Coffee Co., where you want those vibrant, fruity notes to pop.
Prefer something richer? Extend the development time. This allows caramelization to deepen, which dials down the acidity and brings out notes of chocolate, nuts, and caramel. This is a great strategy for our Guatemalan or Brazilian beans, where you want to highlight their smooth, sweet character.
Approaching the Second Crack
If you keep the roast going well past the first crack, the beans will get much darker and their surface will start to look oily. You're now on the verge of the second crack, which marks the beginning of a dark roast.
This crack is faster, sharper, and more subtle—it sounds more like rice crispies in milk or a crackling fire. It happens as the bean's cellular structure literally fractures from the intense heat.
- What to Watch For: Beans will be a deep, dark brown with a noticeable oily sheen.
- Aroma Change: The smell gets much smokier and more intense.
- The Point of No Return: Push the roast too far into second crack, and you’ll quickly end up with burnt, ashy coffee. All of that beautiful origin character will be gone.
For those who love a bold, bittersweet cup, stopping the roast just as the second crack begins can deliver that classic, smoky profile. But be warned: the line between a good dark roast and a charcoal briquette is incredibly thin.
Understanding the Roast Curve
The term "roast curve" might sound technical, but it’s just a way to visualize what’s happening with time and temperature. Even if you aren't using software to track it, you're creating a mental one every time you roast.
Think of it in three parts:
- The Ascent: The initial climb where you apply heat and the bean temperature rises steadily (the drying and browning phases).
- The First Crack: A key event where chemical reactions cause the bean's temperature to momentarily plateau or even dip slightly.
- The Development: The final stretch, where you carefully manage the heat to coast the beans to their target flavor without crashing and burning.
By paying attention to these stages over and over, you’ll start to develop an intuition for how your equipment works. You'll learn how small tweaks can create massive changes in the final cup. This sensory feedback is what makes home roasting such a rewarding and endlessly fascinating craft.
How to Achieve Your Perfect Roast Level
Once you’ve got a handle on the basic roasting process, you can stop just watching beans turn brown and start intentionally chasing specific flavors. This is where you graduate from follower to creator, making deliberate choices to craft a coffee that’s perfectly tuned to your palate. The real secret is understanding how each roast level translates directly into what you taste in the cup.
Every single green coffee bean is packed with potential. Your job as the roaster is to decide which of those flavors to unlock. Are you trying to highlight the bright, delicate notes of the bean’s origin, or are you aiming to develop the deeper, richer flavors created by the roast itself?
Targeting Light Roasts for Acidity and Origin
A light roast is all about preservation. By stopping the roast right around the first crack, you’re capturing the coffee in its most authentic, vibrant state. This approach keeps the acidity high and really lets the bean’s unique terroir—its origin story—shine through.
For example, if you’re roasting an Ethiopian Guji, a light roast is your best bet for bringing out those signature bright, floral, and citrusy notes. Pulling the beans at this early stage prevents the roasting heat from bulldozing over those delicate flavors. The reward is a cup that’s lively, clean, and absolutely bursting with character.
Light roasts are a window into the coffee's soul. They prioritize the bean's inherent flavor over the influence of the roast, resulting in a cup that is often complex, acidic, and exceptionally bright.
This is the perfect strategy for high-quality single-origin beans where you want to taste where it came from—the soil, the altitude, and the processing method. It’s an amazing way to explore the incredible diversity the world of coffee has to offer.
Crafting Medium Roasts for Balance and Sweetness
Let the roast roll on past the first crack, and you’ll land squarely in medium roast territory. This is the sweet spot for a huge number of coffee drinkers, and for good reason. It strikes a beautiful balance between the bean’s origin character and classic roasted flavors. The bright acidity starts to mellow out, and the body becomes fuller and more rounded.
At this stage, caramelization really takes over, converting sugars and creating deep, sweet notes of chocolate and nuts. A Guatemalan bean, for instance, is fantastic as a medium roast. Its natural chocolatey, nutty undertones become much more pronounced, creating a cup that’s smooth, rich, and deeply satisfying. You can dive deeper into this popular profile in our guide to understanding medium roast coffee.
This balanced profile makes medium roasts incredibly versatile. They taste great brewed just about any way, from a simple drip machine to an AeroPress, delivering a consistently delicious and approachable cup every time.
Pursuing Dark Roasts for Body and Boldness
If you keep the heat on long after the first crack has finished and you’re heading into second crack, you’re crafting a dark roast. At this point, the flavor is almost entirely a creation of the roasting process. The bean’s original, more subtle notes are replaced by smoky, bittersweet, and bold flavors.
The intense heat forces natural oils to the surface of the bean, giving it that classic dark, oily sheen. These oils contribute to a heavy, rich body that many people associate with a traditional "strong" coffee. Take a Mexican bean to this level, and its nuanced character will transform into a profile dominated by dark chocolate, toasted nuts, and a smoky finish.
A word of warning, though: roasting dark is a high-wire act. The line between a perfect dark roast and a burnt, ashy mess is razor-thin—we’re talking a matter of seconds. You have to be ready to end the roast and cool the beans instantly the moment you hit your target.
A Practical Guide to Roast Levels and Flavors
To help you turn your taste preferences into a concrete roasting plan, here’s a quick breakdown of what to expect from each level. Use this as a starting point for your experiments to find what you truly love.
Coffee Roast Levels and Flavor Profiles
This table breaks down how different roast levels directly impact the final aroma, acidity, body, and taste of your coffee.
| Roast Level | Key Characteristics | Typical Flavor Notes | Recommended For |
|---|---|---|---|
| Light Roast | Light brown, no oil on surface, high acidity, light body. Stopped during or just after first crack. | Bright, floral, fruity, citrus, tea-like. Highlighting bean origin. | Pour-over, siphon, and manual brewing methods that accentuate clarity. |
| Medium Roast | Medium brown, minimal to no oil, balanced acidity and body. Stopped between first and second crack. | Chocolate, caramel, nutty, stone fruit. A balanced and sweet profile. | Drip brewers, AeroPress, and French press. An all-around versatile roast. |
| Dark Roast | Dark brown to nearly black, oily surface, low acidity, heavy body. Stopped at or during second crack. | Smoky, bittersweet chocolate, toasted nuts, roasty. Bold and intense. | Espresso, Moka pot, and for those who enjoy a strong, classic coffee flavor. |
Ultimately, learning to roast coffee beans is a journey of trial and error. Don’t be afraid to experiment! A great exercise is to roast the same bean to three different levels and taste them side-by-side. It's the fastest way to truly understand how your actions in the roast directly impact the flavor in the cup. Keep a simple log of your roast times, temperatures, and tasting notes. Before you know it, you'll be consistently creating coffee that is uniquely, perfectly yours.
Post-Roast Care: Cooling, Resting, and Brewing
The moment you pull your beans from the heat is one of the most critical parts of the entire process. The job isn't done yet. In fact, what you do in the next few minutes—and the next few days—will make or break the final flavor of your coffee.
Even after you’ve stopped the roast, the beans are still incredibly hot and hold enough thermal energy to keep cooking themselves. This is called carryover cooking, and it can easily turn a perfect medium roast into an accidental dark roast. Your first priority is to cool them down, and you need to do it fast.
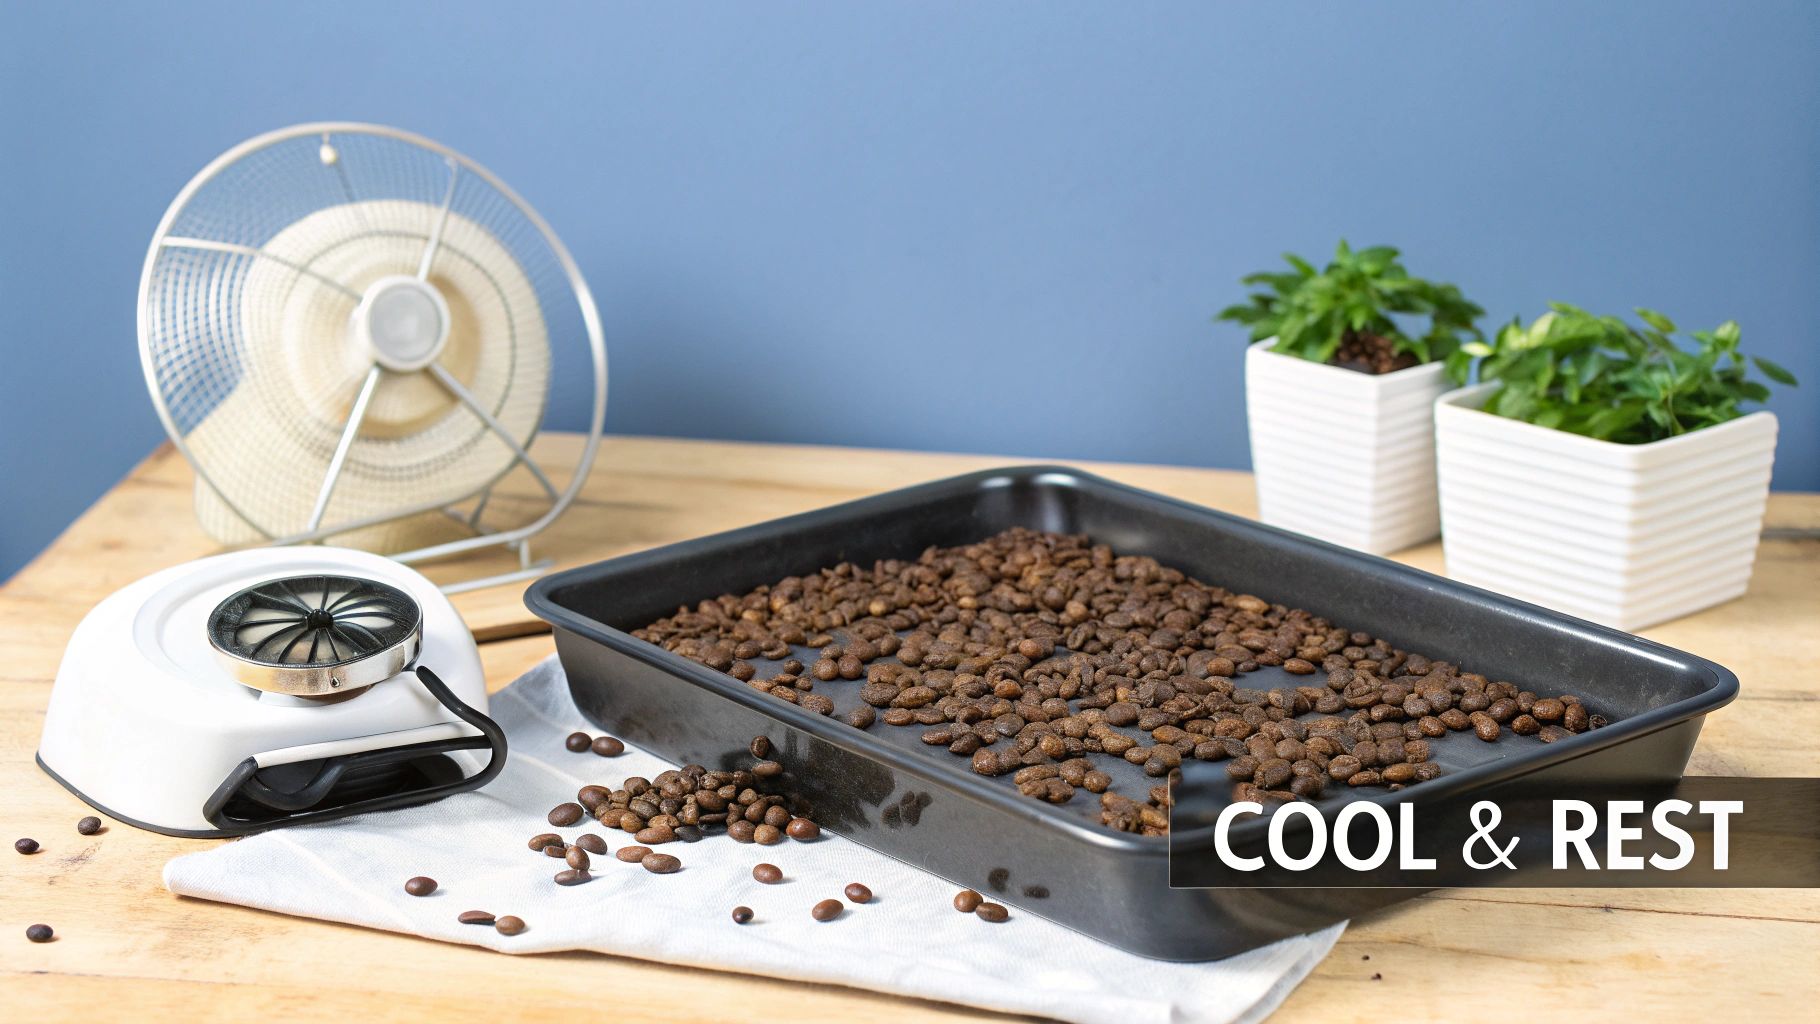
The Importance of Rapid Cooling
Quickly cooling your beans is how you lock in the precise flavor profile you just worked so hard to create. A slow, lazy cool-down lets unwanted chemical reactions continue, which can flatten the aroma and introduce dull, baked flavors. A quick chill, on the other hand, preserves the vibrant acidity and complex aromatics.
The most effective DIY method is simple and just requires two metal colanders. Pour the hot beans back and forth between them, letting the air rush past and strip away the heat. For an even faster cool-down, set up a small fan to blow over the beans as you toss them. Your goal is to get them to room temperature in under five minutes.
Do not, under any circumstances, use water to cool your beans. Quenching them will shock the beans, ruin their structure, and wash away the very oils that carry so much flavor. Stick to air cooling for the best results.
Understanding Degassing and Resting Your Beans
Once cooled, your beans enter a crucial phase called degassing. During the roast, a huge amount of carbon dioxide (CO2) gets trapped inside the bean's cellular structure. Over the next several days, this gas will slowly escape.
Trying to brew coffee that’s still packed with CO2 is a recipe for disappointment. The excess gas interferes with extraction, preventing water from properly saturating the grounds. This almost always results in a cup that tastes sour, thin, and underdeveloped, no matter how perfect your brewing technique is.
Letting your beans rest is non-negotiable for flavor development. Think of it like letting a good steak rest after it comes off the grill—it gives the flavors time to settle down and mature.
- For Filter Coffee: Let your beans rest for at least 12 to 24 hours before brewing. This is usually enough time for the most aggressive gases to dissipate.
- For Espresso: Espresso is way more sensitive to CO2. You'll want to rest these beans for a minimum of 3 to 5 days, though many roasters recommend a full week for optimal shots.
Brewing Your Freshly Roasted Coffee
After the patient wait, it's finally time to brew. Grinding beans you roasted yourself is one of coffee’s greatest rewards. You’ll probably notice your coffee blooms way more intensely than any pre-packaged bag—that's a clear sign of freshness right there.
Don't be surprised if you need to adjust your usual grind settings. Fresh beans are often denser and can behave differently in your grinder and brewer. Start with your standard recipe, but be prepared to tweak your grind size or coffee-to-water ratio to dial in that perfect cup. For instance, if your pour-over tastes a bit weak, try grinding a little finer to slow things down.
Properly storing your beans after they’ve rested is key to preserving their quality. To learn more, check out our detailed guide on how to store coffee beans properly and keep them fresh for as long as possible.
Common Questions We Hear About Home Roasting
Even after you get the hang of the basics, a few questions always pop up when you're starting to roast coffee beans at home. This is your personal roasting hotline—we'll tackle the most common head-scratchers to get you roasting with confidence.
Is This Much Smoke Normal?
Yes, a surprising amount of smoke is totally normal, especially once you push into medium and dark roast territory. As the beans heat up, they release natural oils and shed a flaky, papery skin called chaff. Both of these create smoke.
This is why you always need to roast in a very well-ventilated space. Open a window and get a fan going, set up shop under a powerful range hood, or just take the whole operation outside. The smoke really picks up around the first crack and gets even more intense as you head toward the second.
Don't panic when you see smoke—it's a sure sign the roast is progressing. The real trick is managing it with great airflow so you don't fill the house or set off your smoke alarms. Solid ventilation isn't just a suggestion; it's a must.
How Do I Know When It’s Done?
Knowing when to stop a roast is all about your flavor goal, not just what the timer says. Your best guides are your eyes and ears working in tandem.
- The First Crack: This is your first major milestone. It sounds like popcorn popping and signals you've successfully hit a light roast.
- The Development Phase: Want a medium roast? You'll stop the roast sometime after the first crack has finished but well before the second one kicks off.
- The Second Crack: This is a faster, sharper, more crackly sound that tells you you've entered dark roast territory. Be ready to move fast here—the line between "dark" and "burnt" is incredibly thin.
The best way to nail your target roast level every time is to use a timer while actively listening for these cracks and watching the beans change color.
Can I Just Use Any Green Coffee Beans?
You technically can, but the quality of your green beans is the single biggest factor determining how your coffee will taste. If you want amazing results, you have to start with high-quality, specialty-grade green beans. You simply can't roast bad beans into good coffee.
Different origins and processing methods create wildly different flavors. A huge part of the fun is experimenting with beans from various regions. Try an Ethiopian for bright, fruity notes or a Brazilian for that classic deep, nutty profile. Every bean has a story, and you get to tell it through your roast.
How Long Does Freshly Roasted Coffee Actually Last?
Freshly roasted coffee is at its absolute peak flavor between 24 hours and 10 days after you roast it. There’s a crucial "resting" period called degassing, where trapped CO2 escapes, allowing the complex flavors to open up and mature.
The beans are still perfectly good for a few weeks, but you’ll notice the aroma and vibrancy start to fade after about two weeks. The best approach? Roast in small batches that you know you’ll use within a week or two. That way, every single cup you make is as good as it gets.
Ready to experiment with top-tier green beans that roast up beautifully? Lost Without Coffee Co. sources exceptional, ethically produced beans from the world's best growing regions. They're perfect for your next home roast. Find a new favorite at https://www.lostwithoutcoffee.com.